How to Choose and Install Timber Cladding
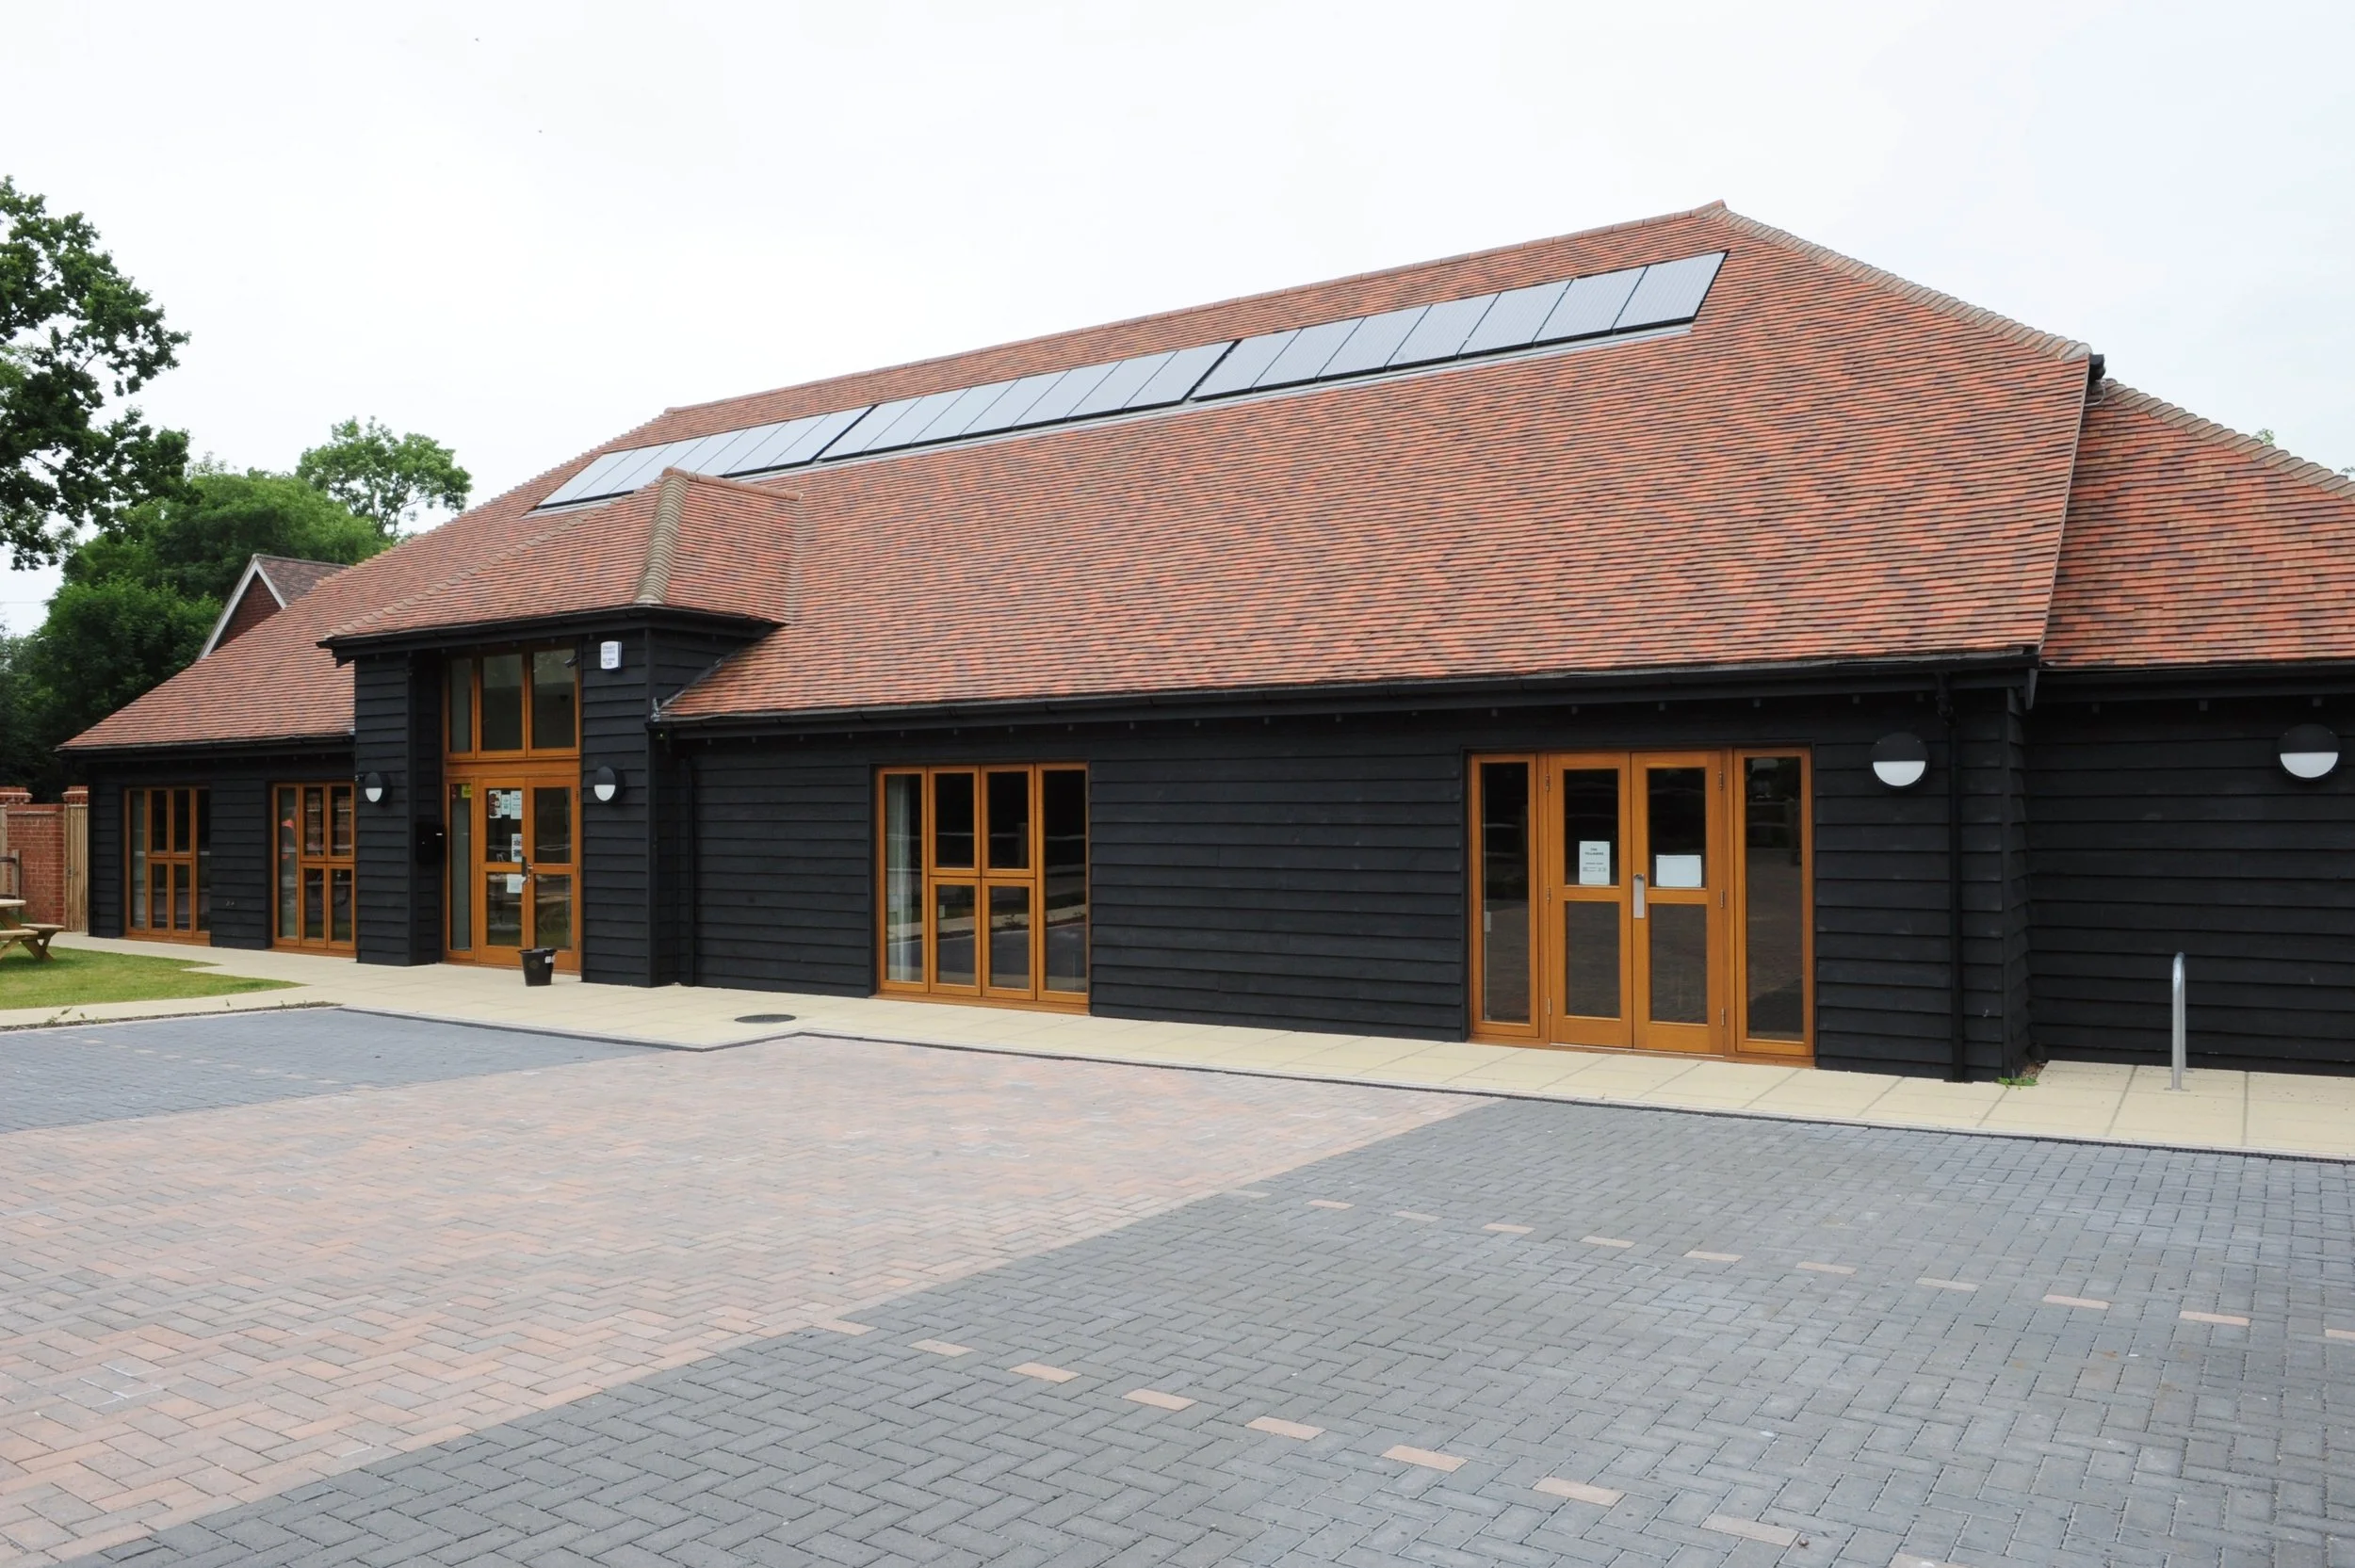
Timber cladding is a popular choice due to its natural beauty, stability, durability, insulating properties and sustainability. There are a wide range of cladding profiles – from traditional to contemporary. Cladding can be installed horizontally or vertically (depending on the profile) and can be supplied in a variety of timbers.
When choosing the right timber and profile for external timber cladding, it is important to consider factors like longevity, appearance, fixings, maintenance and cost. As regards orientation, horizontal is the more traditional and common choice, however, vertical cladding can add the illusion of height and offer a modern and interesting design touch.
Read on for our complete guide to choosing the right cladding profile for your project, plus top tips on installation!
Cladding profiles to choose from
Feather-edge cladding
Feather-edge cladding (also known as weatherboarding) is a traditional style of external horizontal timber cladding. The fresh sawn boards are cut on the diagonal to produce a tapered board that is overlapped when fitted (similar to the appearance to roof tiles).
Waney-edge cladding
Waney-edge is the most natural and rustic style of timber cladding and is ideal for barn conversions, rural outbuildings and garden rooms. It is laid horizontally and created by overlapping rough sawn timber boards (with one square edge and one waney-edge) so that the natural edge (which can include the bark) is left exposed on the lower edge of the board.
Square-edge cladding
If you are looking for vertical timber cladding or screening, then there is quite a choice. From rough sawn square edge to planed all round boards. Our square-edge boards are available in a range of thicknesses and widths and can be overlapped or spaced to create a range of styles.
Shiplap cladding
Suitable for both contemporary and traditional buildings, machined timber shiplap boards overlap, creating a tight waterproof seal. Generally fitted horizontally, shiplap is low maintenance and has a clean, smooth finish. The wide ‘scoop’ on the top edge of the board results in an attractive shadow line. WL West Timber can machine a range of shiplap profiles for both face fixing and hidden fixing.
Halflap cladding
For a fresh, linear appearance, machined halflap cladding is the perfect choice. Unlike a shiplap profile, with its distinctive shadow lines, the halflap profile offers a smoother finish with a slimmer shadow gap, making it ideal for use on contemporary new builds or modern extensions to an older property.
Halflap cladding can be fixed vertically or horizontally and at WL West Timber you can choose from a range of board widths and profiles to suit your specific requirements.
Tongue and Groove (TGV) cladding
Tongue and Groove (TGV) machined cladding has a smooth finish and an interlocking edge that creates a waterproof façade. This style of cladding creates a modern, uniform look, with a key benefit being the ability to hide the fixings through the tongue.
The boards fit together on the long edges (like floorboards) and can be fitted vertically or horizontally (depending on the profile you choose).
Rainscreen cladding
Rainscreen cladding, consists of rhomboid shaped boards equally spaced apart to form a contemporary, decorative façade. The boards are not interlocked or connected and should therefore only be applied to a structure that is fully waterproofed.
This style of cladding is ideal for covering unsightly walls and creating freestanding screens. Architecturally stunning, once installed, the gaps between the boards produce a sleek look, with strong, eye-catching shadow lines.
So, now you’re aware of the wide range of timber cladding profiles to choose from, you may wish to learn more about external cladding. We have a blog post dedicated to timber cladding for you to read here. However, if you want to take deep dive into our top tips for installation, keep reading.
Top tips for installation
When it comes to installing timber cladding, there are a few tips and steps that we often share with cladding installers to ensure they achieve the perfect finish. Continue reading to be in-the-know!
Step 1: Measure up accurately
Start by measuring your walls accurately and ensuring you purchase enough cladding to cover the area required to avoid repeat visits to your local timber merchant!
Step 2: Select suitable battens
Select battens that are between 35mm and 50mm thick to provide the necessary support for your timber, allowing sufficient airflow. Attach battens to your walls. For horizontal cladding, you’ll need to first install vertical battens and for vertical cladding, you’ll need to install horizontal battens.
Step 3: Use the right fixings
Choose stainless steel fixings to prevent the risk of rust and brown stains. Always check the compatibility of fixings before installation, this will ensure your cladding remains secure. Use nails at least 2.5 times the thickness of the cladding and opt for ringshank nails for optimal holding strength.
Step 4: Move from the bottom to the top for horizontal cladding
After installing the battens, start attaching the first row of cladding boards, moving from the bottom of your wall to the top. Keep moving up, attaching each cladding board before moving on to the next. Ensure you use a spirit level to make sure your cladding is straight. Finally, install any corner pieces and trims.
Step 5: Check you have the correct expansion gaps
Timber expands and contracts with changes in the weather and humidity, so when installing profiled cladding, allow for a minimum 2mm expansion gap through the joint to cater to the expansion. This is particularly important when using larch and oak, as they are prone to movement.
Step 6: Ensure you have adequate ventilation
Poor airflow behind cladding can lead to boards cupping and/or rotting, meaning the longevity of your cladding project will suffer as a result. To avoid this, use the correct size battens and do not fill the batten cavity with insulation, or fully seal the cavity at the bottom or top of the wall.
Step 7: Allow enough ground clearance
Establish a minimum clearance of 300mm between your timber cladding and the ground level to enhance the longevity of your cladding and reduce decay.
Quality timber for cladding projects in West Sussex
By selecting the right cladding profile for your project and following our installation top tips, you will enjoy the benefits of beautiful timber cladding for many years.
If you have an upcoming cladding project which you need to source timber for, visit our cladding webpage for more information about our profiles and timber cladding species that we stock. Alternatively, you can contact us to speak to one of our timber experts, or drop us a call where one of our friendly team will be happy to help you with your project.
WL West Timber is a family-owned sawmill & timber merchant in West Sussex with over 155 years’ industry experience. We provide a wide range of air-dried oak and kiln-dried oak timber products and supplies. We also build and install custom projects for our customers.
For more news, tips and updates, follow us on Facebook, Twitter, or Instagram.
For entirely finished products, timber supplies or woodworking tools, have a look at our online shop.


